How to Build Your First Pedalboard Step by Step
Making your first pedalboard is not just about sticking pedals with Velcro. The way you arrange and power your pedals can change your sound a lot. The Atlanta Institute of Music and Media says that pedal order affects tone, which is why most guitar players follow a basic chain. But, as the Recording Conservatory of Austin explains, there are no strict rules — you can always experiment.
Power is also very important. Research from the University of Southern California’s Illumin Journal shows that good wiring and stacking prevent unwanted noise. The University of Illinois also notes that common problems like “hum” and “buzz” often come from bad power or ground loops, so a clean power supply helps keep everything quiet.
In this guide, you’ll learn step by step how to pick the right pedalboard, place your pedals in a simple order, connect them with good cables, and power them correctly — so your setup works well at home, in practice, or on stage.

Step 1: Choose the Right Pedalboard
Pedalboards come in many shapes and sizes, so the first step is deciding how many pedals you’ll use. If you only have a few basics, like a tuner, overdrive, and delay, a compact board will do. But if you see yourself adding more guitar effects pedals later, go for a medium or large board so you don’t outgrow it too soon.
Flat Boards: Affordable, lightweight, and simple to use. Great for beginners who want to keep things minimal.
Tiered or Angled Boards: Slightly more advanced, these boards raise the back row of pedals, making it easier to step on the right pedal during a show. They also help with cleaner cable management.
Tip: Always choose a board a little bigger than your current collection. Extra space means room to grow without needing a full replacement.
Step 2: Gather Your Essential Pedals
It’s tempting to buy every pedal you see, but for beginners, fewer pedals often mean better focus and cleaner sound. Start with these core options:
Tuner Pedal – Keeps your guitar perfectly in tune, which is essential before adding any effects.
Overdrive/Distortion – Adds grit, punch, and power to your tone. Overdrive is smoother; distortion is heavier.
Delay or Reverb – Creates echo and space, making your guitar sound full and atmospheric.
Once you’re comfortable, you can add pedals like chorus, flanger, compressor, looper, or even a wah pedal to expand your creative palette.
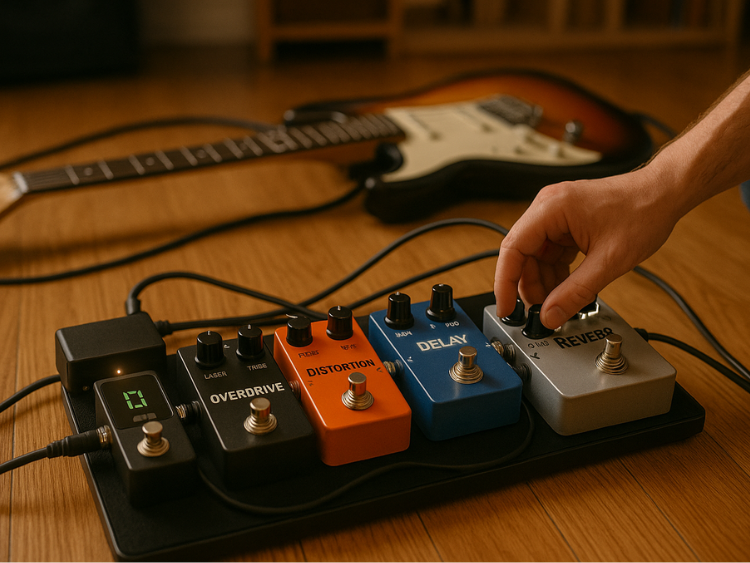
Step 3: Arrange the Pedals in the Right Order
The order of your pedals makes a big difference in how your tone comes out. A widely used beginner-friendly order is:
Tuner – Always first, so it gets the cleanest signal.
Overdrive/Distortion – Shapes your raw tone before effects.
Modulation (Chorus, Flanger, Phaser) – Adds movement and texture.
Delay and Reverb – Placed last so the echoes and ambience apply to your full sound.
Think of it like this: tune your clean signal first, shape the tone second, color it with modulation, and finally, add depth.
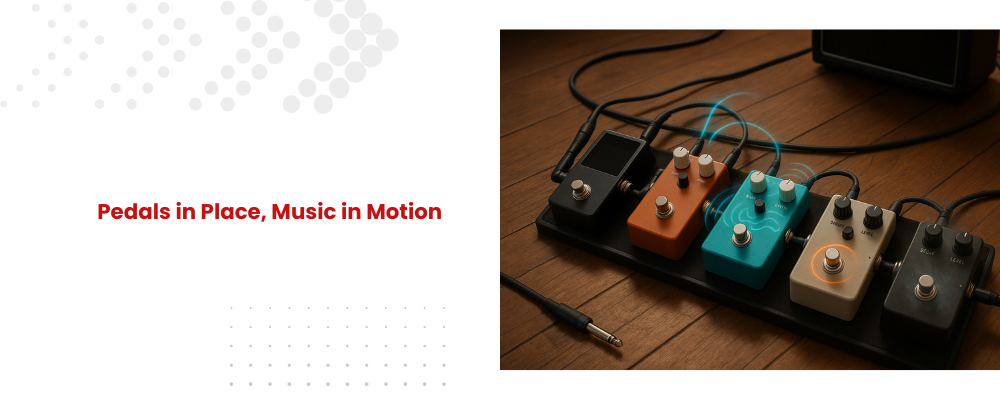
Step 4: Connect with Patch Cables
Patch cables are the short connectors that link pedals together. Using good-quality shielded cables reduces unwanted buzzing and keeps your signal strong.
Keep cables short to avoid extra noise.
Arrange pedals close together for space efficiency.
Bundle excess cable neatly so your setup looks clean and professional.
Step 5: Add a Reliable Power Supply
Batteries die quickly and can fail mid-performance. Instead, invest in a dedicated power supply.
Daisy Chain Adapter: Cheap and easy, but sometimes introduces noise.
Isolated Power Supply: Provides clean, individual power to each pedal, reducing hum and interference.
Most pedals run on 9V, but always check each pedal’s requirements to avoid damage.
Step 6: Secure Your Pedals
A pedalboard isn’t useful if pedals slide around. Secure them properly using:
Velcro Strips: Easy to adjust when rearranging pedals.
Mounting Tape or Brackets: Stronger, more permanent solution for heavy gigging.
If you travel for shows, make sure your pedals are firmly locked in place to survive transport.
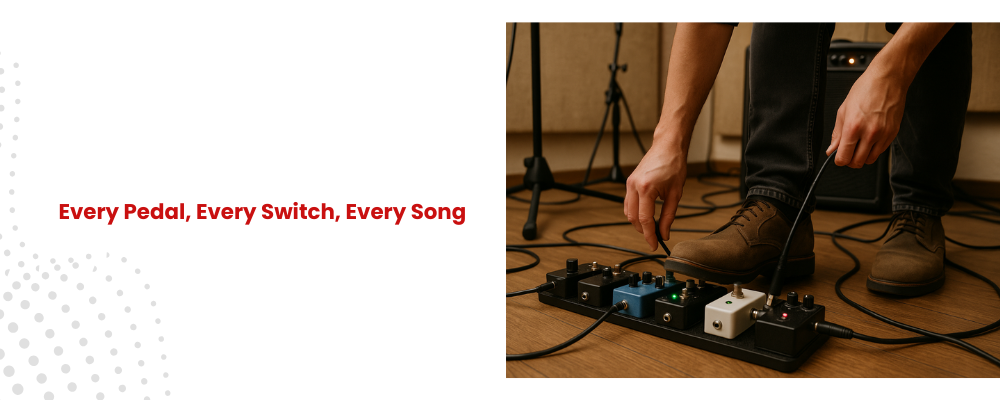
Step 7: Test Your Setup
Before you hit the stage, test everything:
Check Each Pedal: Make sure it powers on and functions properly.
Listen for Noise: Remove any buzzing or hum by checking cables and power connections.
Practice Switching: Step on the pedals in order to make sure you’re comfortable turning them on and off mid-song.
This step saves you from awkward surprises during live performances or recording sessions.
Bonus Tips for Beginners
Start Small, Grow Later: Don’t feel pressured to buy 10 pedals at once. Begin with 2–3 essentials and expand as you discover your style.
Experiment With Order: The “standard” order works well, but there’s no single rule. Try swapping pedals around — sometimes unusual setups create unique tones.
Invest in Quality Cables: Cheap patch cables often cause noise and signal loss. Spending a little more on good cables will save you a lot of frustration.
Label Your Power Supply: If you’re using an isolated power brick, label which output powers which pedal. It makes troubleshooting faster.
Practice Pedal Switching: Use your pedals in practice sessions, not just live gigs. Train your footwork so switching becomes second nature.
Keep a Spare: Always carry a spare patch cable, 9V battery, or extra power adapter. Failures usually happen at the worst time.
Stay Organized: Velcro and cable ties keep your board neat. A tidy board is not only easier to use but also looks professional.
Conclusion
Building your first pedalboard setup may seem tricky at first, but with this guitar pedalboard guide, you’ll be ready in no time. Remember, the goal is to make playing easier and more fun while shaping your unique sound with guitar effects pedals.
Ready to start your own pedalboard? Check out beginner-friendly pedals and pedalboards at Music Shop Store.
Recent Posts